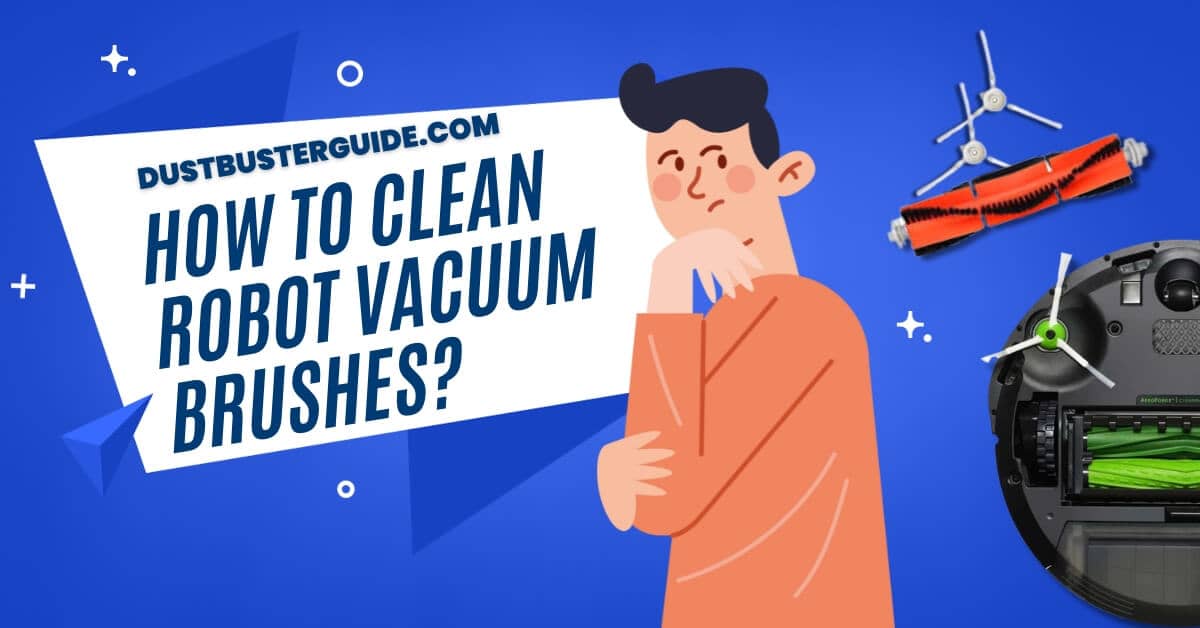
The brush maintenance mystery prompts a question of upkeep: how to clean robot vacuum brushes? It’s an exploration into the essential ritual of maintaining your robot vacuum’s cleaning efficiency.
Picture this: your robot vacuum brushes working tirelessly, and the question arises. In just a couple of lines, the answer sweeps in like a brush-cleaning revelation: Regularly clean your robot vacuum brushes by removing any hair or debris entangled around them.
Use scissors or a cleaning tool to cut and remove the accumulated material, ensuring optimal performance. But before you assume it’s a time-consuming task, join us in this exploration. We’ll share tips for quick and effective brush maintenance to keep your robot vacuum in top-notch shape.
What Is A Robot Vacuum
Before you can master the art of cleaning your robot vacuum brushes, it’s essential to understand your handy little helper and how it operates.
Your robot vacuum, whether it’s a Roomba, Neato, or any other brand, is a sophisticated piece of machinery designed to make your life easier. It’s equipped with sensors to detect dirt and debris, and its brushes are designed to sweep this into the vacuum’s dustbin. It’s these brushes that do a lot of the heavy lifting, and as a result, they can get clogged and dirty over time.
The design of your robot vacuum brushes may differ depending on the model and brand. Some have a primary brush and a side brush, while others may have multiple brushes.
The primary brush is typically larger and located in the middle of the vacuum, and it’s responsible for the majority of the cleaning. The side brush, on the other hand, is designed to clean corners and edges. Understanding your vacuum’s brush system is crucial as it will guide you on how to disassemble and clean them properly.
What Signs Tell Your Robot Vacuum Needs Cleaning
When you notice your trusty automated helper isn’t quite up to its usual standard in tidying up, it’s likely a sign it needs some maintenance.
The most common signs that your robot vacuum needs a clean-up can be a drastic reduction in suction power or it leaving behind more debris than it picks up.
In some cases, your robot vacuum might be moving more sluggishly or it might even start making strange noises.
If you notice your device behaving erratically or not performing as efficiently as it used to, it’s probably time to give it a good clean.
Ignoring these signs can lead to long-term damage to your robot vacuum. The accumulated dirt and debris can hamper the functioning of the vital components of the device, reducing its lifespan.
Moreover, a dirty vacuum can also lead to poor air quality in your home as it can blow the collected dust back into the room.
So, for the sake of your vacuum’s health and your own, it’s crucial to regularly clean your robot vacuum’s brushes.
What Are Some Preparatory Steps Before Cleaning
Ready to restore your automated helper to its prime? Let’s roll up our sleeves and dive into the preparatory steps you’ll need to take.
First and foremost, ensure your robot vacuum is switched off and unplugged. This is crucial for your safety and to prevent any accidental damage to the vacuum itself.
Next, gather all the necessary tools for the job. You’ll need a soft brush (a clean makeup brush or toothbrush will do), a pair of scissors, and a trash bin or bag for the discarded debris.
Once you’ve got your tools, find a clean, well-lit workspace and set your robot vacuum on a flat surface. Make sure to have the manual handy as it can provide valuable guidance on how to disassemble and reassemble the vacuum. Also, consider taking photos as you go along, these can serve as a visual guide when it’s time to put everything back together.
Now, with everything in place, you’re ready to tackle those dirty brushes!
How To Clean Robot Vacuum Brushes: Step-By-Step
Now that you’re prepped and ready, let’s dive into the actual process of cleaning your robot vacuum brushes.
This step-by-step guide will walk you through the important stages of removing and cleaning the brushes.
Afterward, you’ll learn about drying and reassembling them back.
Don’t worry, it’s not as complicated as it sounds, and with this guide, you’ll have your brushes spick-and-span in no time.

1. Removing And Cleaning Brushes
Unleash your inner cleaning guru and let’s dive right into removing and cleaning your robot vacuum’s brushes – a vital step in maintaining your little helper’s performance and efficiency.
Begin by turning off and unplugging your robot vacuum to ensure your safety during the cleaning process. Then, locate the brushes, which are typically on the underside of the vacuum. Most models have a main roller brush and several smaller side brushes. You’ll need to remove these brushes for thorough cleaning. Most vacuums have a release button or latch, but if you’re unsure, consult your user manual.
With the brushes detached, you can proceed to clean them. Take a mild detergent and warm water to gently clean the brushes. Be careful not to use any harsh chemicals as they can damage the bristles.
After you’ve removed all the dust and debris from the brushes, rinse them thoroughly under running water. Be cautious not to wet the parts of the brushes that connect to the vacuum, as this could lead to damage.
Once they’re clean, let them air dry completely before reattaching them to your robot vacuum. Remember, inserting damp brushes can cause harm to the machine. Keeping the brushes clean not only ensures the best performance from your robot vacuum but also prolongs its lifespan. So, don’t forget to do this regularly!
2. Drying And Reassembling
After a thorough cleaning, it’s crucial to let the parts of your little helper dry completely before you start piecing it back together. Water left on the parts can cause damage to your robot vacuum, leading to malfunctions or even total failure.
Lay out all the parts on a dry towel and leave them in a well-ventilated area until they’re completely dry. You can also use a hairdryer if you’re in a hurry, but make sure to set it on a low setting to avoid overheating the parts.
Once everything is dry, it’s time to reassemble your robotic vacuum. Start with the main brush, ensuring it’s correctly aligned before locking it back into place. The side brushes usually just snap back into their respective spots. Replace the filter and dust bin, ensuring they fit snugly.
Don’t force any parts back into place; they should fit easily and naturally. Now, your robot vacuum is ready to get back to work, with clean brushes ready to tackle any mess in its path.
What Are Some Common Brush Issues And How To Fix Them
Facing issues with your robot vacuum brushes? It’s not uncommon to encounter problems like damaged brushes or persistent dirt and debris. Don’t worry, we’re here to guide you through some common issues and their easy solutions to get your robot vacuum working efficiently again.
1. Damaged Brushes Issue
Imagine discovering that your robot vacuum’s brushes are damaged – it’s enough to make your heart sink, isn’t it? The brushes are the heart of your robot vacuum, responsible for picking up dirt and debris from your floors. If they become damaged, their efficiency can drastically decrease, resulting in an unclean and unsatisfactory environment.
But don’t panic just yet! In most cases, damaged brushes can be easily replaced, returning your robot vacuum to its optimal cleaning performance.
Firstly, it’s important to identify the type of damage. The brushes can wear out over time, fray, or become entangled with hair and debris. In all these cases, prompt action is required. You can purchase replacement brushes directly from the manufacturer or from third-party suppliers. It’s essential to ensure the new brushes are compatible with your specific robot vacuum model.
Once you’ve got the replacement brushes, detach the old ones by gently pulling them out and then insert the new ones. Voila! Your robot vacuum should be back in action, ready to tackle those dust bunnies once again.
2. Persistent Dirt Or Debris
Despite your robot vacuum’s best efforts, you’ve noticed some stubborn dirt or debris that just won’t budge, leaving your floors less than spotless. Sure, your little helper is doing its best, but sometimes it needs a little assistance from you.
If your robot vacuum’s brushes seem to be struggling with persistent dirt, it may be time for a deeper clean.
- Firstly, disconnect the brushes from the vacuum and give them a good tap over a trash can to dislodge any loose debris.
- Next, use a soft bristle brush or an old toothbrush to gently scrub away any remaining dirt. Be extra careful not to overly scrub or use harsh cleaning agents as these can damage the delicate bristles of your robot vacuum’s brushes.
- Once you’ve finished, ensure the brushes are completely dry before reattaching them to the vacuum. Remember, a clean brush not only improves the efficiency of your robot vacuum but also extends its lifespan.
Regular Maintenance And Care
Keeping your robot vacuum in top shape requires regular maintenance and care. It’s crucial to clean it frequently to ensure it performs at its best and lasts you a long time.
In this discussion, we’ll delve into how often you should clean your robot vacuum, tips to enhance its longevity, and performance tricks to keep it running smoothly.
1. Frequency Of Cleaning
You’d be surprised how often your robot vacuum brushes need a good clean! The frequency of cleaning largely depends on how often you use your robot vacuum and the type of debris it picks up. For instance, if your home has pets or if your vacuum cleaner runs every day, you’ll need to clean the brushes more frequently. In general, a thorough cleaning should be performed at least once a week to ensure optimal performance.
To give you a better idea of how often you should clean your robot vacuum brushes, let’s consider the frequency of use and the type of environment.
| Frequency of Use | Living Environment | Cleaning Frequency |
| Daily | Pet owners | Twice a week |
| Daily | No pets | Once a week |
| Weekly | Pet owners | Once a week |
| Weekly | No pets | Every two weeks |
| Monthly | Pet owners | Every two weeks |
| Monthly | No pets | Once a month |
Remember, these are rough guidelines. If you notice that your robot vacuum isn’t picking up as much dirt as usual or if it’s leaving behind debris, it’s probably time for a good brush cleaning. Regular maintenance not only prolongs the life of your robot vacuum but also ensures a cleaner home.
2. Longevity And Performance Tips
Maintaining your automated helper’s longevity and performance isn’t just about regular cleaning, it’s also about smart usage and timely maintenance. Remember, overworking your robot vacuum can lead to a drop in performance and a shorter lifespan. Make sure to use it for appropriate tasks, like picking up dust and small debris.

Avoid using it on wet surfaces or to pick up large objects as this could damage the internal components. Similarly, ensure your robot vacuum isn’t running over sharp objects or falling down stairs, which could lead to physical damage.
It’s also crucial to replace the parts of your robot vacuum as recommended by the manufacturer. This includes the brushes, filters, and battery. Replacing these parts timely can prevent potential damage and maintain the efficiency of your vacuum.
Pay attention to any unusual noises or changes in performance – these could be signs that a part needs replacing. By taking these simple steps, you can ensure your robot vacuum will continue to provide efficient cleaning for many years to come.
Roomba Clean Main Brushes Error
When your Roomba displays a “Clean Main Brushes” error message, addressing the issue promptly is essential. Cleaning the main brushes thoroughly is the first step. Be sure to remove any hair, strings, or debris wrapped around the brushes. Inspect the brush bearings for any obstructions and clean them as needed.
After cleaning, reinstall the brushes correctly and ensure they rotate freely. If the error message persists, refer to Roomba’s user manual for more advanced troubleshooting steps. It’s possible that other factors, such as sensor problems or software updates, may be contributing to the issue, and the manual can provide guidance on resolving them.
How To Replace Your Roomba Brushes
To replace the brushes on your Roomba, follow these general steps:
Main Brushes
According to iRobot, the main brushes should be replaced every 6-12 months for optimal performance
To replace the main brushes, typically you would:
- Loosen the screws retaining the bottom cover.
- Remove the old brushes and install the replacement ones.
- Tighten the screws to secure the new brushes.
Side Brush
The side brush can be replaced by loosening the side brush screw with a screwdriver or coin, removing the old brush, and installing the replacement brush by firmly pressing it in. It’s important to refer to your specific Roomba model’s user manual for detailed instructions on replacing the brushes.
Additionally, iRobot’s official website and instructional videos can provide specific guidance for your Roomba model.
Conclusion
So now you know how to clean robot vacuum brushes. Taking care of your robot vacuum isn’t as daunting as it may seem. Regular cleaning and maintenance not only ensures optimal performance but also extends the life of your handy helper.
So, don’t wait for problems to arise before you give your vacuum some TLC. A little effort can go a long way in keeping your home clean and your robot vacuum running smoothly. After all, a clean robot vacuum is a happy, efficient one!
FAQs
What are some recommended cleaning supplies for robot vacuum brushes?
You’ll need a soft brush, a microfiber cloth, and mild detergent. A can of compressed air can also come in handy for dislodging particles. Remember, always use gentle, non-abrasive materials to avoid damaging your robot vacuum brushes.
How often should I replace the brushes on my robot vacuum?
You should replace the brushes on your robot vacuum every 6 to 12 months. However, if they’re visibly worn out or damaged, replace them sooner to keep your vacuum working efficiently.
Can I use water to clean my robot vacuum brushes?
Absolutely! You can use water to clean your robot vacuum brushes. Just make sure they’re completely dry before reattaching to avoid any damage. Never submerge the entire vacuum in water though, just the brushes.
Are there any specific brands of robot vacuums that require special cleaning methods?
Yes, certain brands like Roomba or Neato may have specific cleaning instructions for their robot vacuum brushes. Always refer to your user manual or the manufacturer’s website for accurate, model-specific cleaning advice.
Is there a way to prevent my robot vacuum brushes from getting dirty quickly?
Yes, there’s a way to keep your robot vacuum brushes cleaner for longer. Regularly clearing your floors of large debris and detangling hair from the brushes can significantly reduce how quickly they get dirty.
How do you clean robot vacuum wheels?
To clean robot vacuum wheels, turn the robot over and place it on a flat surface, then pull the wheels out and remove any debris or hair that may be stuck in them.
How do I clean my robot vacuum cleaner?
To clean a robot vacuum cleaner, refer to the manufacturer’s instructions for specific cleaning guidelines. Generally, you can clean the dustbin, brushes, and filters regularly, and wipe down the exterior with a damp cloth.
External Resources
- The Best Robot Vacuum You Can Buy Right Now – The Verge
- The Design Methodology To Develop New-Generation Universal-Motors For Vacuum Cleaners – IEEE Xplore
- The Effect Of Vacuum Cleaners On The Concentration And Particle Size Distribution Of Airborne Cat Allergen – The Journal of Allergy and Clinical Immunology
- Suck Up The Mess: The Benefits Of Using A Car Vacuum Cleaner – 91Wheels