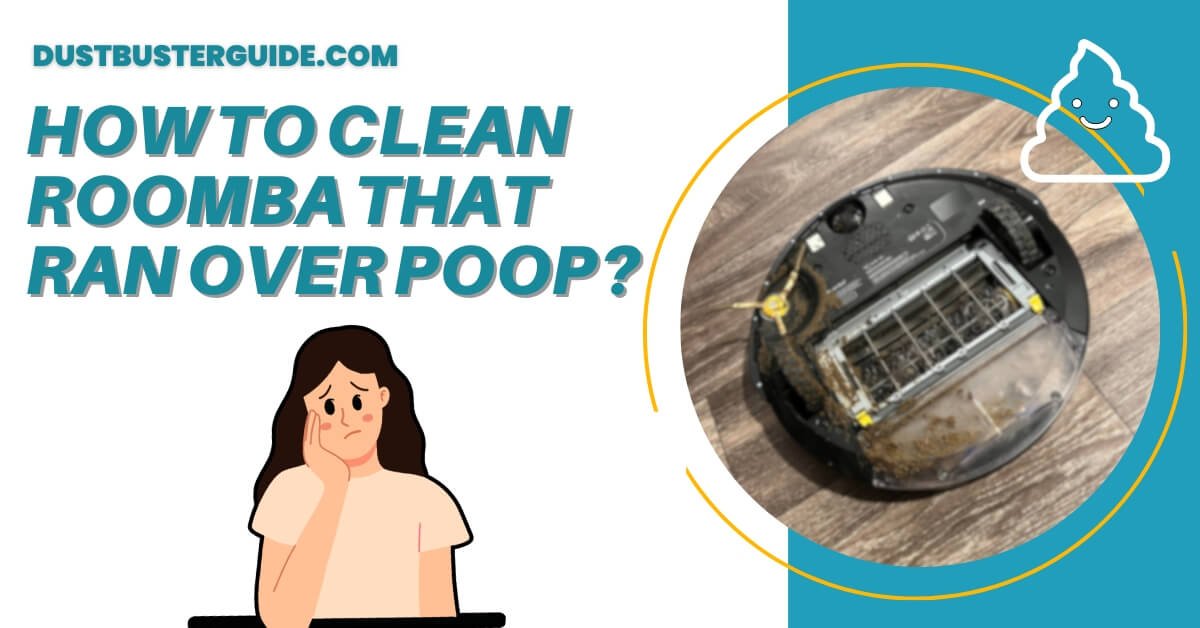
The cleanup saga of your Roomba encounters an unexpected twist, prompting the question: how to clean Roomba that ran over poop? It’s a choreographed dance to ensure hygiene and optimal performance.
Picture this: your diligent Roomba navigating through unexpected obstacles, and the question arises. In just a couple of lines, the answer sweeps in like a cleanup revelation: wear gloves, use disinfectant wipes, and clean the wheels, brushes, and any affected parts thoroughly.
But before you assume it’s a messy situation, join us on this exploration. We’ll guide you through the cleanup dance, ensuring your Roomba resumes its cleaning performance with pristine efficiency.
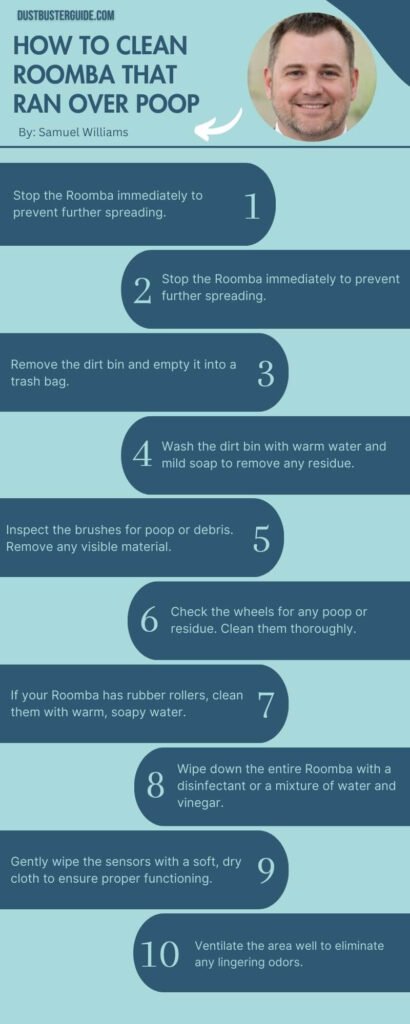
How To Clean Roomba That Ran Over Poop – Step-By-Step
below we have mentioned all the steps you need to take to clean the roomba that ran over poop. Let’s see them all one by one.
1. Assess The Situation
Oh boy, it’s time to see just how much of a mess this little Roomba made after running over some poop! First things first, take a deep breath and try not to panic.
Assessing the situation is essential to determine the extent of the mess and come up with the best cleaning plan.
Start by inspecting the area where the Roomba was operating. Look for any visible signs of poop, such as smears or streaks on the floor or furniture. Be thorough and check every nook and cranny where the Roomba might have ventured. If you spot any poop, don’t worry, we’ll take care of it!
Next, examine the Roomba itself. Check the wheels, brushes, and any other parts that might have come into contact with the poop. It’s crucial to identify any residue or debris stuck to the Roomba to ensure a thorough cleaning. If you notice any visible mess on the robot, it’s time to roll up your sleeves and get ready for some cleaning action!
2. Gather Your Tools
First, grab all the necessary tools to get your cleaning supplies in order. You’ll need a pair of disposable gloves to protect your hands from any potential bacteria or germs. It’s important to have a plastic scraper or spatula to gently remove any solid waste from the Roomba’s brushes or wheels.
You’ll also need a bucket or a sink filled with warm soapy water to soak the removable parts of the Roomba. Additionally, have some cleaning wipes or disinfectant spray on hand to thoroughly clean the Roomba’s exterior and any surfaces it may have come into contact with.
Once you have all your tools gathered, it’s time to proceed with caution. Start by turning off and unplugging the Roomba to prevent any accidents while cleaning. Carefully remove any visible debris from the brushes or wheels using the plastic scraper or spatula. Be gentle to avoid damaging any delicate parts.
Next, detach any removable parts of the Roomba, such as the dustbin or filter, and soak them in warm soapy water for a few minutes to loosen any stubborn dirt. While they’re soaking, use the cleaning wipes or disinfectant spray to thoroughly clean the Roomba’s exterior, including the sensors and buttons.
After the parts have soaked, rinse them under running water and pat them dry with a clean towel. Finally, reassemble the Roomba and give it a test run to ensure everything is functioning properly.
| Tools Needed | Purpose |
|---|---|
| Disposable gloves | Hand protection against bacteria and germs |
| Plastic scraper/spatula | Gentle removal of solid waste from brushes/wheels |
| Bucket/sink with soapy water | Soaking removable parts for thorough cleaning |
| Cleaning wipes/disinfectant spray | Cleaning Roomba’s exterior and surfaces |
| Clean towel | Drying soaked parts and surfaces |
3. Remove The Poop
Now it’s time to tackle the not-so-pleasant task of getting rid of the mess left behind by our furry friends. First, you’ll want to put on a pair of disposable gloves to protect yourself from any germs or bacteria.
Carefully lift off the top cover of your Roomba and locate the waste compartment. It’s usually located in the back or underneath the main unit. Open the compartment and empty the contents into a plastic bag. Be sure to seal the bag tightly to prevent any odors from escaping.
If there are any stubborn stains or residue left behind, you can use a damp cloth or paper towel to wipe them away. Once you’ve disposed of the waste, it’s important to thoroughly wash your hands with soap and warm water to ensure proper hygiene.
Next, you’ll want to clean the waste compartment to remove any remaining traces of poop. Start by removing the compartment from the Roomba and emptying any loose debris into the plastic bag. Rinse the compartment with warm water to remove any remaining waste.
If there are any stubborn stains or odors, you can use a mixture of mild dish soap and water to clean the compartment. Scrub the inside of the compartment with a soft brush or sponge, paying special attention to any crevices or corners. Rinse thoroughly and allow the compartment to air dry before reattaching it to the Roomba.
Remember to dispose of the plastic bag containing the waste in an appropriate manner, such as tying it up and placing it in an outdoor trash bin.
Pros And Cons Of Safely Disposing Of Pet Waste From Roomba
4. Clean The Brushes And Rollers
To ensure your furry friend’s mess doesn’t affect your Roomba’s performance, it’s time to give the brushes and rollers a thorough cleaning. Start by removing the debris or residue that may have accumulated on these parts. Carefully take off the brush or roller, depending on your Roomba model, and use a pair of scissors or your fingers to remove any hair, fur, or other debris that may be tangled around it. Be gentle to avoid damaging the brush or roller.
Once you have removed the visible debris, it’s time to clean the brush or roller more thoroughly. You can use a soft brush or toothbrush to gently scrub the bristles or surface of the roller. Make sure to remove any remaining residue or debris that may be stuck on it. You can also use a damp cloth or sponge to wipe it clean. Take your time and be thorough to ensure that all the residue is removed.
Once you’re satisfied, let the brush or roller dry completely before reattaching it to your Roomba. This will help prevent any potential odor or further mess from developing. By regularly cleaning the brushes and rollers of your Roomba, you can ensure that it continues to perform at its best and effectively cleans your home.
4. Disassembling The Roomba
If you want to give your furry friend’s mess no chance of hiding, it’s time to roll up your sleeves and disassemble your Roomba to access those hard-to-reach areas. Start by turning off your Roomba and unplugging it from the charging dock.
Lay the Roomba upside down on a flat surface, making sure to protect the surface with a towel or a mat to prevent any scratches. Use a screwdriver to remove the screws on the bottom cover of the Roomba, being careful not to lose them.
Once the screws are removed, gently lift off the bottom cover to reveal the inner components of the Roomba.
With the bottom cover removed, you now have access to the brushes, rollers, and other hard-to-reach areas that may have been affected by the poop incident. Take a close look at the brushes and rollers, and remove any visible residue or debris using your hands or a pair of tweezers.
Be thorough in your cleaning, making sure to remove any stuck-on poop or hair that may have accumulated over time. Once you’ve cleaned the brushes and rollers, you can also use a damp cloth or a small brush to clean the other components of the Roomba, such as the sensors or the dustbin. Remember to be gentle and avoid using excessive force, as some parts may be delicate.
By disassembling your Roomba and accessing those hard-to-reach areas, you can ensure that it is thoroughly cleaned and ready for its next cleaning session.
5. Clean The Wheels And Sensors
Take a moment to ensure your Roomba’s wheels and sensors are in top-notch condition to keep it running smoothly. Start by flipping your Roomba over and examining the wheels. If you notice any debris, remove it gently using a soft cloth or a toothbrush.
Make sure to clean both the main wheels and the smaller caster wheel, as buildup in these areas can affect the Roomba’s ability to move effectively. Additionally, check the sensors located on the underside of the Roomba. These sensors help the Roomba navigate and avoid obstacles. Wipe them clean with a damp cloth to ensure they’re free from any dirt or grime that may interfere with their functionality.
After cleaning the wheels and sensors, it’s important to test their functionality. Place your Roomba on a clean surface and observe its movements. Check if the wheels are rotating smoothly and if the Roomba is able to navigate without getting stuck or veering off course. Monitor the sensors to see if they detect obstacles correctly and prompt the Roomba to change its direction.
If you notice any issues, repeat the cleaning process and ensure all debris is removed. Proper maintenance of the wheels and sensors will not only ensure your Roomba’s optimal performance but also extend its lifespan, saving you from costly repairs in the long run.
6. Wash The Dustbin
Examine the dustbin of your Roomba and start by removing it from the Roomba. Empty any debris or dirt that may be inside. Rinse the dustbin with warm water and use a mild dish soap to clean the inside thoroughly. Scrub the walls and bottom of the dustbin with a brush to remove all residue. Rinse the dustbin again with warm water to remove any soap residue.
Allow the dustbin to air dry completely before placing it back into the Roomba.
Once the dustbin is dry, you can further eliminate any lingering odors by adding a small amount of baking soda to the bottom of the dustbin. Baking soda is known for its odor-absorbing properties and can help neutralize any unpleasant smells. Make sure to distribute the baking soda evenly and avoid adding too much, as it may clog the dustbin.
After adding the baking soda, close the dustbin securely and place it back into the Roomba. This will help ensure that your Roomba continues to clean effectively and leaves your home smelling fresh.
7. Sanitize The Roomba
To ensure a truly clean and germ-free environment, it’s essential to sanitize your trusty Roomba, eliminating any harmful bacteria and germs that may be lurking.
Start by removing the dustbin from the Roomba and emptying its contents into a trash bag. Use a damp cloth or paper towel to wipe down the dustbin, removing any visible debris or dirt.
Next, mix a solution of warm water and mild detergent in a bucket or sink. Dip a clean cloth into the soapy water and use it to thoroughly wipe down the inside and outside of the dustbin. Pay close attention to the corners and crevices where bacteria and germs can hide. Rinse the cloth and wipe down the dustbin again to remove any soap residue.
Finally, allow the dustbin to air dry completely before reattaching it to the Roomba.
Once the dustbin is clean and dry, it’s time to sanitize the rest of the Roomba. Start by removing the filter and cleaning it according to the manufacturer’s instructions. Some filters can be rinsed under water, while others may require replacement.
After cleaning or replacing the filter, use a disinfectant spray or wipes to sanitize the entire Roomba, including the exterior, buttons, and sensors. Be sure to follow the instructions on the disinfectant product to ensure proper usage.
Allow the disinfectant to air dry on the Roomba for a few minutes before reassembling and using it again.
By regularly sanitizing your Roomba, you can ensure a clean and healthy home environment for you and your family.
8. Dryin And Reassemble
After thoroughly sanitizing the Roomba, it’s time to allow the dustbin and filter to air dry completely before reassembling the device.
Start by placing the dustbin and filter in a well-ventilated area and leaving them to dry for at least 24 hours. Make sure to place them on a clean and dry surface to avoid any contamination.
During this time, it’s important not to rush the drying process as moisture can lead to the growth of bacteria or mold.
Once the dustbin and filter are completely dry, it’s time to reassemble the Roomba. Begin by carefully inserting the filter back into the dustbin, making sure it fits securely in place.
Then, line up the dustbin with the opening in the Roomba and firmly press it until it clicks into position. Ensure that the dustbin is properly aligned and locked to prevent any dust or debris from escaping during operation.
Finally, double-check that all the parts are securely in place before turning on the Roomba. By following these steps and allowing for proper drying time, you can ensure that your Roomba is ready to go and will continue to keep your floors clean and fresh.
Preventive Measures: Tips For Avoiding Future Incidents
Make sure you take proactive steps to prevent future incidents and keep your floors clean and free from unexpected messes.
One important preventive measure is to regularly check and clean the sensors and brushes of your Roomba. These components can easily get clogged with debris, which can affect the Roomba’s performance and increase the chances of it running over a mess. By regularly cleaning the sensors and brushes, you can ensure that your Roomba is operating at its best and is less likely to encounter any unexpected messes.
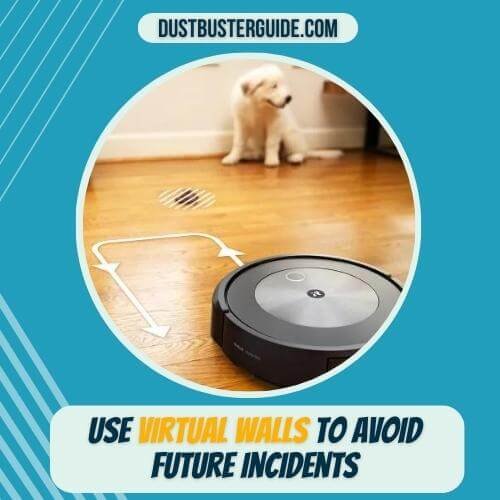
Another tip is to create a barrier or use virtual walls to block off areas where accidents are more likely to occur. For example, if you have a pet that tends to have accidents in a specific area, you can use a virtual wall to keep the Roomba from entering that space. Additionally, you can use boundary strips to create physical barriers that prevent the Roomba from going into certain areas.
Taking these preventive measures can help you avoid future incidents and keep your floors clean and mess-free. Remember to regularly check and maintain your Roomba to ensure its optimal performance and to minimize the chances of encountering unexpected messes.
Is There Any Robot Vacuum That Can Detect Dog Poop
Yes, there are robot vacuums that can detect dog poop. The iRobot Roomba j7+ and the Samsung JetBot A.I.+ both claim to use cameras and machine learning to avoid dog poop
The iRobot Roomba j7+ is the first vacuum that can recognize and avoid obstacles, like cables or a pile of clothes, in real time, and it can identify and avoid cleaning pet messes
The DEEBOT X1 TURBO and the DEEBOT T20 OMNI from ECOVACS are also robot vacuums that can detect and avoid pet messes
In addition to the previously mentioned robot vacuums, the Yeedi Vac 2 is another option that can detect and avoid obstacles such as pet messes or dog bowls.
It offers a lengthy 110-minute runtime and features 3D object avoidance, allowing it to recognize objects in its path and move around them to avoid getting stuck. This vacuum is designed to avoid your dog’s food bowl, water bowl, and dog toys, making it a pet-friendly choice
Conclusion
So here’s how to clean Roomba that ran over poop. Cleaning a Roomba that has encountered poop is a necessary yet messy task for maintaining your robotic vacuum’s functionality and cleanliness. Carefully assess the situation, gather supplies, and dispose of waste properly. Clean brushes, and rollers, and disassemble hard-to-reach areas. Thoroughly dry and reassemble the Roomba. Test and troubleshoot before regular use.
Prevent future incidents by clearing hazards and regular maintenance. Follow these steps to ensure a smoothly functioning, clean Roomba and a tidy home. With effort and care, your Roomba will resume efficient cleaning.
FAQs
How do I assess the extent of the mess when my Roomba runs over poop?
Assessing the mess when your Roomba encounters poop involves checking the affected areas on the Roomba, examining the surrounding floor and furniture, and determining the extent of the spread and potential damage.
What cleaning supplies do I need to gather before cleaning the Roomba?
Gather cleaning supplies like gloves, paper towels, mild soap, and a trash bag. These will help you effectively clean your Roomba after it encounters poop.
How do I safely dispose of the waste when removing the poop from the Roomba?
To safely dispose of the waste when removing the poop from the Roomba, carefully scoop it into a disposable plastic bag. Seal the bag tightly and dispose of it in an outdoor trash bin.
How do I clean the brushes and rollers to remove residue and debris from the Roomba?
To clean the brushes and rollers on your Roomba and remove residue and debris, start by turning off the device. Then, gently remove the brushes and rollers, clean them with a brush or cloth, and reinstall them before turning the Roomba back on.
What preventive measures can I take to avoid future incidents of my Roomba running over poop?
To avoid future incidents of your Roomba running over poop, make sure to thoroughly clean the area before using it. Regularly check the room for any potential hazards and consider using virtual walls or barriers to restrict access to certain areas.
Does Roomba j6+ avoid pet waste?
The Roomba j6+ features iRobot’s PrecisionVision Navigation, enabling it to recognize and avoid pet waste. However, it’s recommended to manually remove large or potentially harmful pet waste before running the vacuum.
What’s the best cleaning hack for dissolving dog poop?
For outdoor areas, a mixture of water and white vinegar can help break down and dissolve dog poop. Spray the solution on the affected area, let it sit for a few minutes, and then clean. Indoors, enzymatic cleaners designed for pet stains are effective at breaking down and eliminating dog poop odors and residues.
External Resources
- Selection Of Vacuum Cleaner With Technique For Order Preference By Similarity To Ideal Solution Method Based Upon Multi-Criteriadecision-Making Theory – SAGE Publications
- EU Court Adviser Finds Against Dyson In Vacuum Cleaner Dispute – Reuters
- How Dyson’s Innovation Became Its Key To Success – Cascade Strategy
- Analysis Of The Aeroacoustic Characteristics Of The Centrifugal Fan In A Vacuum Cleaner – ScienceDirect