Discovering your Roomba neglecting its duty to self-empty can be an unexpected twist in your robotic cleaning saga, leading to the ponderous question: Roomba not emptying itself what to do?
In just a couple of lines, the answer emerges as a troubleshooting duet: ensure the Clean Base is positioned correctly, check for obstructions in the disposal port, and verify the vacuum’s overall functionality.
But before you assume it’s a complex conundrum, join us on this exploration. We’ll guide you through the steps, promising a seamless self-emptying encore for your Roomba, ensuring its cleaning legacy continues with automated elegance!
Why Is My Roomba Not Self-Emptying? Major Reasons
Is your Roomba not self-emptying? Let’s explore the possible reasons why this might be happening.
- There are several factors that could be causing this issue. Firstly, it could be due to a clogged dirt bin. Over time, dirt and debris can accumulate in the bin, preventing it from emptying properly.
- Another possible reason is a faulty sensor. The self-emptying feature relies on sensors to detect when the dirt bin is full. If these sensors are not functioning properly, the Roomba may not empty itself. In this case, you may need to contact customer support or consider getting the sensor replaced.
- Additionally, the self-emptying base itself could be experiencing issues. Check to see if the base is properly connected to a power source and that the Roomba is correctly docked on the base. If everything seems fine but the Roomba still doesn’t empty, there might be a problem with the base itself, and it may need to be repaired or replaced.
Roomba Not Emptying Itself What To Do – Easy Fix
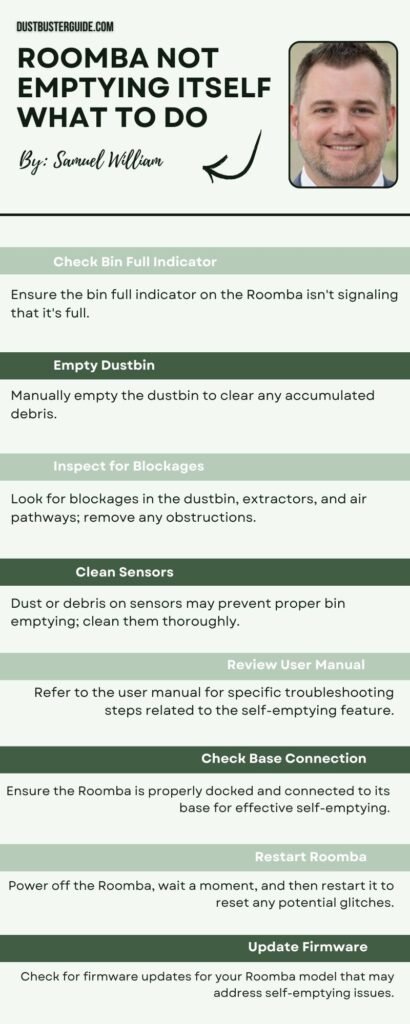
Try troubleshooting your Roomba’s bin emptying issue by following these steps.
- First, check if the bin is properly aligned and inserted in the Roomba. Sometimes, if the bin isn’t properly seated, it can prevent the automatic emptying process. Remove the bin and reinsert it firmly until you hear a clicking sound, ensuring it’s securely in place.
- Next, make sure the Clean Base, where the Roomba empties its bin, is positioned correctly. Ensure that it’s placed on a flat surface and that there are no obstructions around it. If there’s any debris or dirt blocking the opening of the Clean Base, remove it carefully.
- If the above steps don’t resolve the issue, it might be helpful to clean the bin and the Clean Base. Over time, dirt and debris can accumulate, causing clogs or hindering the emptying process.
- Remove any dirt or debris from the bin and wipe the sensors and contacts on both the bin and the Clean Base with a clean, dry cloth.
- If the problem still persists, it’s recommended to contact Roomba customer support for further assistance. They can provide specific troubleshooting steps based on your model and guide you through any additional solutions to fix the bin-emptying issue.
Cleaning And Maintaining Roomba’s Self-Emptying System
Maintaining the self-emptying system of our Roomba involves regular cleaning and proper care to ensure optimal performance.
- The first step in cleaning the self-emptying system is to remove the bin and empty it regularly. Over time, debris and dirt can accumulate in the bin, causing it to become clogged and preventing it from properly emptying. We should empty the bin after each use and give it a thorough cleaning at least once a week.
- To clean the bin, we can start by removing the filter and tapping it gently to remove any loose dirt. We can then rinse it under running water to remove any remaining debris.
- Next, we should check the bin opening and make sure it is clear of any obstructions. If we notice any blockages, we can use a small brush or toothpick to remove them.
- It is also important to clean the sensors that detect when the bin is full. We can use a soft cloth or cotton swab dipped in rubbing alcohol to gently clean these sensors, ensuring they are free from any dirt or residue.
- In addition to regular cleaning, we should also take proper care of the self-emptying system. This includes avoiding overfilling the bin, as this can cause it to become clogged or malfunction. We should also make sure the bin is properly aligned and securely attached to the Roomba. If the bin is not properly aligned, it may not empty correctly.
By following these cleaning and maintenance tips, we can ensure that Roomba’s self-emptying system functions properly and continues to empty itself efficiently.
What Are The Common Error Codes Related To Roomba Self-Emptying
Identifying the Common Error Codes Related to Roomba Self-Emptying can help you quickly troubleshoot any issues.
When it comes to the self-emptying feature of your Roomba, there are a few common error codes that you may encounter. Understanding these error codes can be incredibly helpful in troubleshooting and resolving any issues you may have with your Roomba’s self-emptying system.
Error 29
One common error code is Error 29, which indicates that the Clean Base has become full and needs to be emptied. This error code is usually accompanied by a message on the Roomba app or a blinking light on the Clean Base. When you see this error, simply empty the Clean Base, and the error should be resolved.
Error 30
Another common error code is Error 30, which indicates that the Clean Base isn’t properly installed. This can happen if the Clean Base isn’t aligned correctly with the Roomba. To resolve this error, ensure that the Clean Base is securely connected to the Roomba and properly aligned.
Error 31
Another error code you may encounter is Error 31, which indicates that there’s a communication issue between the Roomba and the Clean Base. This error can occur if there’s an obstruction or if the Clean Base isn’t within range of the Roomba. To resolve this error, make sure there aren’t any obstacles blocking the communication between the Roomba and the Clean Base, and ensure that the Clean Base is within range of the Roomba.
Error 32
Additionally, Error 32 may occur, which indicates that the Clean Base isn’t able to empty the Roomba’s bin. This can happen if the bin isn’t properly positioned in the Clean Base or if there’s an obstruction preventing the bin from being emptied. To resolve this error, check that the bin is properly seated in the Clean Base and remove any obstructions that may be blocking the emptying process.
By familiarizing yourself with these common error codes, you’ll be better equipped to troubleshoot any issues you may encounter with your Roomba’s self-emptying system. Remember to consult the Roomba user manual for specific instructions on resolving each error code.
Is The Self-Emptying Bin Compatible With Your Roomba Model?
Ensure that your Roomba model is compatible with the self-emptying bin to maximize convenience and efficiency in keeping your floors clean. Before investing in a self-emptying bin for your Roomba, it’s essential to check if the bin is compatible with your specific Roomba model.
Different models of Roomba may have varying dimensions, power requirements, or docking mechanisms, which can affect the compatibility with the self-emptying bin. Therefore, it’s crucial to consult the manufacturer’s documentation or website to determine if the self-emptying bin is compatible with your particular Roomba model.
Using a self-emptying bin that isn’t compatible with your Roomba model may result in issues such as improper docking, inability to empty the bin or even potential damage to your Roomba. To avoid these problems, take the time to research and ensure compatibility before purchasing a self-emptying bin.
By doing so, you can enjoy the convenience of having your Roomba automatically empty its own bin and continue cleaning your floors without interruption.
Is Self-Emptying Roomba Better Than Manual-Emptying Roomba
Using a self-emptying Roomba provides you with a hassle-free cleaning experience, allowing you to focus on other tasks while your floors stay effortlessly clean. With a self-emptying Roomba, you don’t have to worry about manually emptying the bin after each cleaning session.
The self-emptying feature ensures that the bin is automatically emptied into a larger dustbin, eliminating the need for constant monitoring and maintenance. This not only saves you time and effort but also ensures that your Roomba is always ready for the next cleaning session.
In addition to the convenience factor, a self-emptying Roomba also offers better cleaning performance compared to a manual emptying Roomba. The larger dustbin in the self-emptying model allows for more dirt, dust, and debris to be collected without compromising the cleaning efficiency. This means that you can go longer between emptying the bin, resulting in fewer interruptions during your cleaning routine.
Moreover, the self-emptying Roomba uses advanced sensors and technology to optimize its cleaning patterns and ensure thorough coverage of your floors. This results in a more efficient and effective cleaning process, leaving your floors spotless and free of dirt and allergens.
So, if you’re looking for a truly hands-off cleaning experience, investing in a self-emptying Roomba is definitely worth considering.
What Is The Right Place To Dispose Of The Bin Content?
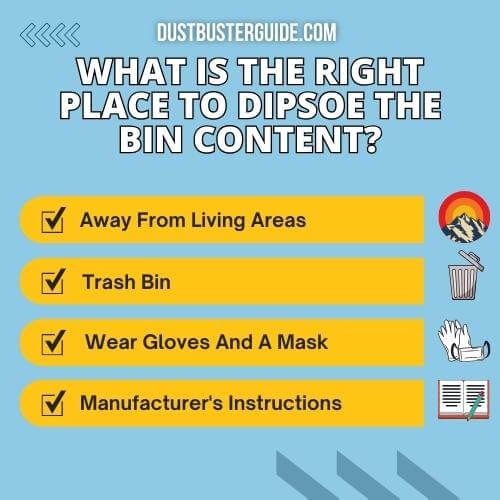
- When disposing of the bin content, make sure to choose an appropriate location that is away from living areas and can handle the collected dirt and debris effectively.
- It is important to consider the type of waste that the Roomba has collected. If the bin contains mostly dirt and dust, it can be safely emptied into a trash bin or garbage bag. However, if the Roomba has picked up larger debris or pet hair, it may be better to dispose of it in an outdoor trash bin or directly into an outdoor compost pile.
- Additionally, it’s crucial to be mindful of any allergens or potential hazards that may be present in the bin content. If you or someone in your household has allergies, it’s advisable to wear gloves and a mask when emptying the bin to minimize any potential reactions.
- Furthermore, be cautious when disposing of any chemicals or hazardous materials that the Roomba may have come into contact with. Always refer to the manufacturer’s instructions for proper disposal methods.
By taking these precautions and choosing the right location, you can ensure that the Roomba’s bin content is disposed of safely and efficiently.
How Do I Know When The Roomba Needs To Be Emptied?
Most Roomba models are equipped with a bin full indicator that notifies you when the dustbin needs to be emptied. When the bin is full, the Roomba may emit a series of tones, and some models have a visual indicator on the device itself. Additionally, if you’re using the iRobot Home app, you’ll likely receive a notification prompting you to empty the bin.
If your Roomba doesn’t have a bin full indicator, you should manually check the dustbin after each cleaning cycle. An overfilled dustbin can affect the vacuum’s performance, so it’s essential to empty it regularly. Remove the dustbin, open the lid, and dispose of the collected debris in a trash bin. For optimal cleaning efficiency, establish a routine of checking and emptying the dustbin as part of your Roomba maintenance.
Conclusion
So next time someone asks you if the Roomba not emptying itself what to do. You know what to guide them. In conclusion, if your Roomba’s self-emptying feature isn’t working, consider several possible reasons and solutions. Check the bin alignment, cleanliness, and compatibility. Try resetting or updating the software. Troubleshoot by restarting, checking for blockages, and maintaining the system.
Follow proper waste disposal guidelines. Regular maintenance ensures optimal self-emptying performance. Consider whether the convenience outweighs manual emptying for your needs. By following these steps, your Roomba’s self-emptying system can function properly and efficiently.
FAQs
How long does it take for the Roomba to empty itself?
It usually takes about 60 minutes for the Roomba to empty itself. However, if it’s not emptying properly, there might be a blockage or a malfunction. You can try cleaning the bin or contacting customer support for assistance.
Can I use any type of bag to replace the disposable bag in the self-emptying system?
Yes, we can use any type of bag to replace the disposable bag in the self-emptying system. It is not limited to a specific type, allowing us to choose the one that best suits our needs.
What should I do if the self-emptying system gets clogged?
If the self-emptying system gets clogged, we should first turn off the Roomba and unplug it. Then, carefully remove any debris from the system and ensure that the disposal bin is properly connected. Finally, restart the Roomba and see if it resumes normal operation.
Is there a way to manually empty the Roomba if the self-emptying system is not working?
Yes, there is a way to manually empty the Roomba if the self-emptying system isn’t working. We can remove the dustbin from the Roomba, empty it into a trash bag, and then reattach the dustbin.
Can I use the self-emptying system with a non-Roomba Vacuum?
No, the self-emptying system is specifically designed to work with Roomba vacuums. It may not be compatible with other non-Roomba vacuums.
How Do I Reset My Roomba Clean Base?
To reset your Roomba Clean Base, unplug it from the power source, wait for at least 10 seconds, and then plug it back in. This should initiate a reset. If needed, refer to the user manual for your specific model.
Can Two Roombas Share A Clean Base?
No, two Roombas cannot share a Clean Base. Each Roomba should have its dedicated Clean Base to properly dispose of debris. The Clean Base is designed to work with a single Roomba at a time.
External Resources
- Vacuum Cleaner Noise Annoyance: An Investigation Of Psychoacoustic Parameters, Effect Of Test Methodology, And Interaction Effect Between Loudness And Sharpness – MDPI
- Design And Development Of Automatic Cleaning And Mopping Robot – Institute of Physics
- Comparing The Recommendations Of Buyers Of Energy-Efficient And Inefficient Vacuum Cleaners – MDPI
- The Best Robot Vacuum You C