Robotic vacuums are made to be as silent and unseen as possible. If they continually move around or make loud, unexpected noises, which can be annoying, something is wrong with the machine.
Have you ever had the experience of being in a Zoom conference when all of a sudden your Roomba starts producing an odd, loud noise, embarrassing you in front of your employer and leaving you wondering, why is my Roomba squeaking all of a sudden?
Several factors, such as dirty or clogged brushes, broken or lost components, and worn-out gears, may bring on this problem. In this article, we’ll walk you through the causes of your Roomba’s squeaking and the solutions you should use to stop it. So, let’s begin.
How Loud Is The Roomba?
The noise level of a Roomba can vary depending on the specific model and its cleaning settings. Generally, Roombas are designed to operate at a relatively low noise level, making them suitable for use in homes without causing significant disturbance.
On average, a Roomba produces sound in the range of 55 to 70 decibels (dB), with some of the newer models being quieter. For comparison, this is roughly equivalent to the noise level of normal conversation or background music. It’s important to note that noise perception can be subjective, and factors such as the type of flooring, room acoustics, and individual sensitivity may influence how loud the Roomba appears.
If you have specific concerns about noise, it’s advisable to check the decibel rating for the specific Roomba model you are considering.
Why Is My Roomba Squeaking – 6 Reasons
It is always essential to determine the underlying source of our problem before we try to solve it. So let’s define what is causing the Roomba to squeak in the first place. Your Roomba’s squeaking noise could be caused by one of the following factors:
- Dust and dirt buildup
- Clumps of hair caught on the Roomba brush
- Roomba wheel misalignment
- Obstacles in the path
- Low charging
- Poorly lubrication
1. Dust And Dirt Buildup
Several things can make a Roomba squeak, but most of the time, the wheels and roller brushes are to blame for the high-pitched noise. This is understandable, given that the Roomba is made to collect dirt and debris through suction and vibration before depositing it into its bin for disposal.
Noisy brushes or squeegees frequently indicate a filthy or clogged Roomba. The rubber brushes may begin to squeak if they have accumulated a lot of dust and debris.
2. Clumps Of Hair Caught On The Roomba Brush
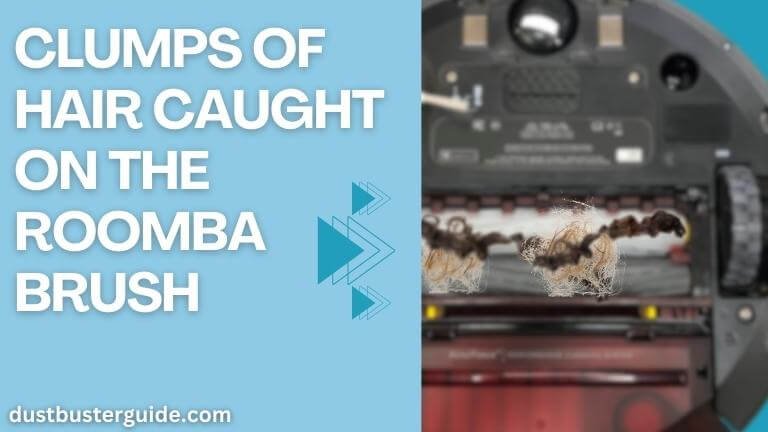
In addition to dirt and grime, pet and human hair are well known for making vacuums squeak. Hair begins to shred and coil around the Roomba brush, making removing the hair challenging and clogging up your Roomba. Because the hair caught in the brushes doesn’t fall into the built-in dust container, you may expect this to happen.
3. Roomba Wheel Misalignment
The wheel may have fallen out of alignment if your Roomba keeps squeaking. Inadequate installation, dust accumulation, objects lodged between the wheel and the wheel housing, hair around the axle, or excessive use could all be to blame.
The Roomba features two side wheels that allow it to move around, spin, and forward and backward. At the front of it, there is one caster wheel. The front caster wheel will not freely spin if it is covered in hair or debris. The Roomba wheels squeaking may be caused by it.
4. Obstacles In The Path
Your Roomba may occasionally squeak because it makes noise when scraping itself against a hard surface. This can occur if the Roomba discovers anything, such as a toy, which it pulls about and makes noises while cleaning.
5. Low Charging
The battery charge of your Roomba is another essential factor to consider if your Roomba is squeaking. Are you confused about why your Roomba hasn’t charged even though you’ve placed it on the charging station? If so, then the Roomba’s charging station may be malfunctioning.
The charging station may have some dust embedded in the contact places where the Roomba charges. When attempting to charge, it can slip on and off the contacts.
The charger is not fully plugged into the Roomba, which is another issue that could be causing your Roomba to make a squeaky noise due to low charging. To charge completely, your Roomba needs a strong connection to the charger. The charging procedure will not be finished, and your Roomba will squeak if the plug is not fully put into the device.
6. Poorly Lubrication
If there is friction between a robot vacuum’s moving parts, it may also make a squeaking noise. Moreover, the brush motor might get so dry that the gears lose their ability to function. The brush motor on an earlier Roomba might not be strong enough to operate and spin freely.
Despite their rarity, there have been some cases of Roomba brush motor failure. If the brush motor and other parts of the Roomba haven’t received oil or lubrication in a while, this may have been the cause.
How Do I Stop My Roomba From Squeaking
Now that you know all the causes of your Roomba squeaking, let’s look at how to solve them so you can enjoy a quiet day of vacuuming with your Roomba. The following techniques can stop your Roomba from squeaking:
- Clean the head module and brush
- Clean the wheels
- Correctly charge the batter
- Clear the path
- Apply lubricants
- Review warranty information
1. Clean The Head Module And Brush
A few users have noted that squeaking occasionally originates from the side brush; if this is the case with your Roomba sounds, let’s immediately troubleshoot it:
- Remove the cleaning head module from the Roomba’s rear first.
- On each side of the Roomba, remove the side screws.
- Now take out the two extractors, and it will come out with ease.
- Be gentle when removing the side brush.
- You’ll observe that the side brush is driven by a small motor, while a large motor drives the extractors.
- You may thoroughly clean this cleaning head module with a towel and eliminate all the dirt and debris.
- Use a cloth after wiping the brush roller off with your bare hands.
- Reinstall this module at this point, then secure the side brush in its location.
2. Clean The Wheels
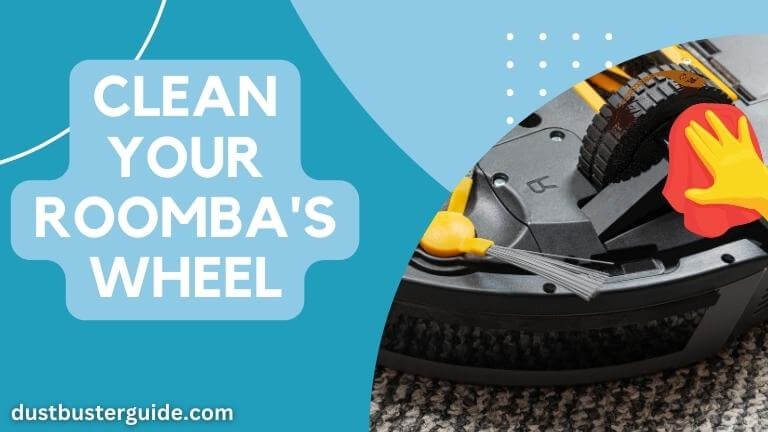
If the installation point at the device shows that the issue is with jammed wheels or hair lodged in the middle of the wheel. Here’s how to repair it then:
- To remove the wheel from the wheel housing, push firmly on it.
- Clear the wheel of any hair or debris.
- Reinstall the wheel into the housing now, ensuring the axle is securely fastened on both sides.
- After that, clean up the front wheel cavity of dust and debris.
- Reinstall the robot’s caster wheel assembly.
- Congratulations! Right now, there is no squeaking coming from the wheel.
3. Correctly Charge The Battery
We have three simple fixes if you experience an issue with an incomplete charging process. Here they are:
- Plug the charger correctly.
- Clean the charging points of the battery.
- Clean the Roomba’s charger contact points.
Plug The Charger Correctly
- You must first unplug the charger from the outlet to resolve this problem.
- Make sure the plug is correctly and thoroughly inserted into the Roomba at this point.
- Once you have fully inserted the plug into the Roomba, You can plug the charger back into the socket.
- We are sure that you, Roomba, won’t be making any noises at this point anymore.
There are situations where the plug is not the problem; in that case, it is necessary to clean the battery’s charging ports and the charger’s contact points. To do so:
Clean The Charging Points Of The Battery
- Firstly, the battery is secured by four screws, one on each corner of the Roomba’s back.
- Each screw must be removed one at a time. Screws can be loosened rather than removed completely, allowing the outer section to be removed.
- You will now remove the battery and use a clean towel to wipe down the battery’s surface points.
- You will see a small brush here, which you must grasp and pull upward.
- After that, adjust the cover thoroughly and fasten all of the screws. Connect the Roomba charger to it and see if the charging process begins.
Clean The Roomba’s Charger Contact Points
- You can use Mr. Clean’s magic eraser, suggested by iRobot, and used to clean charger sensors.
- Completely wet this eraser and squeeze it.
- The charging cable must now be unplugged, and the contact points on the charging sensor must be cleaned.
- Now, dry the damp areas, get rid of all the moisture, and re-plug your Roomba’s charger.
4. Clear The Path
When it’s time for your Roomba to start cleaning and moving around your home, make sure the places it plans to clean are clear of any toys, shoes, or other obstructions so that nothing gets in its way. Following this procedure can stop your Roomba from squeaking while it cleans.
5. Apply Lubricants
If cleaning doesn’t solve the problem, your machines require lubricants. If you use your Roomba frequently, its parts may dry up, and the squeaking sound is typically brought on by friction between the metal or plastic components.
The wheels and brushes are the only two moving pieces of a robot vacuum. Try manually spinning them to see if it helps you identify the source of the squeaking. Apply a tiny amount of dry lubricant next. Let’s see how we can do this.
A word of caution before we continue: be careful about the lubricant you choose to use. We advise choosing a lubricant that will dry out faster because anything else would drip on the wheels and make a large mess. Done with the precautions, now let’s get started:
Lubricate The Caster Wheels
If you look closely, each wheel has a little hole on the outside. The wheel axle is accessible through that opening. Also, while manually turning each wheel, you could see the axle spinning, suggesting it would be an excellent location for some lubrication.
Apply a small squirt at a time, one at a time, right into the tiny hole on the side of the wheels using the precision straw application tool (included with the purchase). The squeak can be stopped by applying a small amount of oil to the axle and turning the wheel to work it in.
You should keep a paper towel handy during this step in case you overspray and need to wipe away lubricant residue.
After giving the wheel a quick injection of lubrication, you can immediately hear that the squeaking noise is no longer present when you rotate the wheel manually. The robot vacuum should not be turned over while the lubricant is still wet. The same procedure can also be used to lubricate the axle of the other wheel with a tiny amount of dry lubricant.
Lubricate The Side Brush
The side brush parts’ friction can occasionally cause the squeaking noise. You will need a Phillips screwdriver to access the side brush if that is the problem.
Once you have removed the side brush with a screwdriver, spray a tiny drop of dry lubrication. To spread the lubricant uniformly, apply it around the outside of the yellow portion.
Give it a test run after letting it dry. The lubricant should lower friction and stop the side brush’s squeaking.
Can I Use WD-40 For The Roomba?
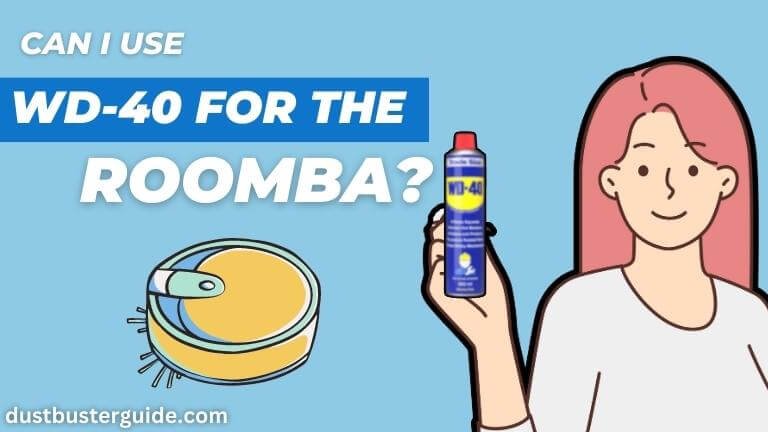
WD-40 is a multi-purpose product that lubricates nearly everything, penetrates stuck parts, displaces moisture, and protects metal from rust and corrosion. Since WD-40 is more of a water-displacing agent than a genuine lubricant, we do not recommend using it on Roombas (WD stands for Water Displacement, after all). It mainly serves as a water repellent to stop corrosion.
WD-40’s dissolving components give it lubricant-like qualities. It’s more like a light lubricant with a short-lived impact. WD-40 might not be suitable for Roomba since it might remove vital lubricants from the robot’s motor, making it stop functioning correctly.
WD-40 won’t help much if your Roomba is squeaking because it takes a while to dry and will merely attract dust.
6. Review Warranty Information
It’s time to move on to our last resort if you have tried everything to fix your Roomba, but nothing seems to work. It’s not always simple to silence a noisy Roomba. In the worst-case scenario, the Roomba’s suction motor is wearing out, or the propellers are beginning to jam. These problems typically cause severe performance problems as well as loud grinding noises.
If the problem appears to be motor-related, reviewing your warranty details is essential. The limited warranty could cover a malfunction with your Robovac if it happened within a year. Ask about shipping your device back and getting a replacement by contacting iRobot (or other manufacturers; remember that warranties can vary).
Why Is My Roomba Making High-Pitched Noise While Charging
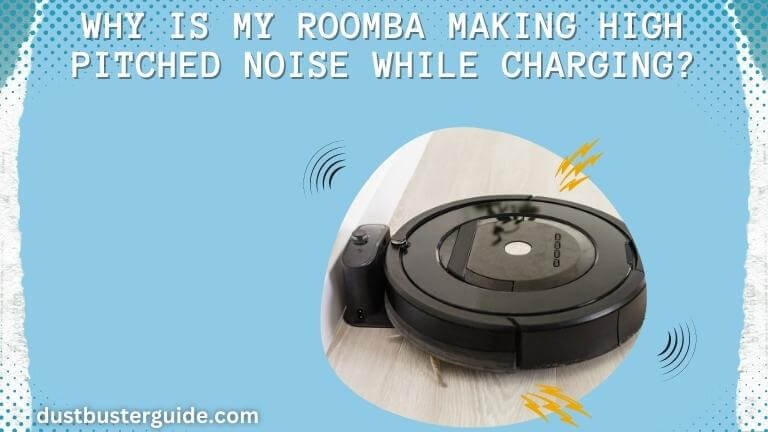
We discovered when searching the internet that many Roomba owners have issues with their Roomba generating loud noises while charging. So don’t worry, friends; this guide will aid you. We’ve listed a couple of easy solutions to your issue below:
- Use another power outlet.
- Check the battery contacts.
- Replace the battery.
- Reset Roomba.
1. Use Another Power Outlet
Transfer your Roomba to the other outlet if you use one with a different voltage. Check to see whether you’re using the correct power adapter for your vacuum cleaner model if that doesn’t work. Before attempting anything more, ensure the adapters are compatible with the model you want to use.
2. Check The Battery Contacts
Check the contacts if you’re having issues with your Roomba’s battery. They may need cleaning because they are rusted or unclean. You can water them while damp, then dry them with a cloth or paper towel. Try replacing the battery yourself if this is ineffective.
3. Replace The Battery
Your Roomba’s battery could be the origin of any noise it makes while charging. All Roombas’ rechargeable batteries are made to last for roughly two years, but you should replace them if you don’t want your gadget to start making noises and stop functioning correctly.
4. Reset Roomba
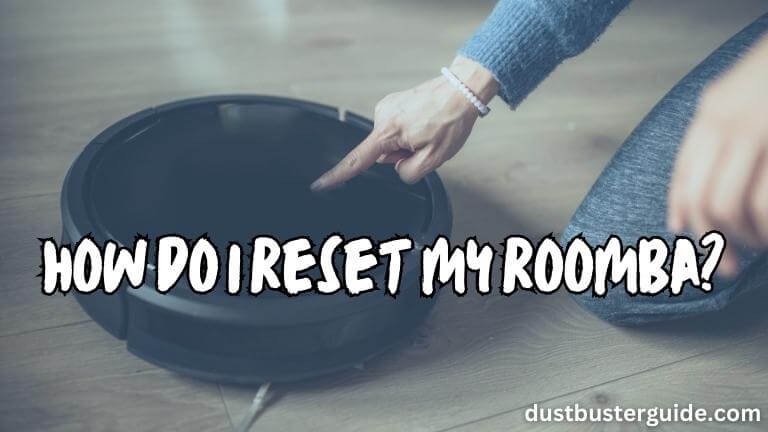
To rest your Roomba, push the CLEAN and SPOT buttons simultaneously until you hear a 2-tone sequence. During this procedure, “CLEANING” should appear on the screen, and you should hear two beeps followed by one beep. And your Roomba is all reset.
Conclusion
Here is a complete guide to help you figure out your question: why is my Roomba squeaking. Check a few things to ensure everything is in order if your Roomba produces a lot of noise while cleaning your house.
You should check the condition of the brushes and wheels first. Your Roomba will not grip your floors if dirty and will have to push harder against them, making a lot of noise.
Next, make sure that all of Roomba’s charging points are clean and that the plugs are fully inserted. Last but not least, lubricate the moving parts of your machine with dry lubricant to keep your Roomba squeaking.
FAQs
Why is my Roomba squeaking on the carpet?
Some Roomba owners claim to hear squeaky noises when using their Roomba on carpeted floors. Certain kinds of carpeting might make your Roomba squeal strangely while it is running. The Roomba’s rubber tire may be grinding against carpet fibers and making a squeaky sound.
Why is my Roomba making whistling noises?
Your Roomba may be whistling for many reasons. A plastic grill is on the back of the trash can; remove it to check for any accumulation of debris, dust, etc. Check to see if the impeller can move freely after trying to clean it up. If not, some lubricant could be required.
Can I make my Roomba quieter?
A new function called “Quiet Driving” turns off the robot’s cleaning mode when moving to a designated location before or after a cleaning run. The purpose of this is to make cleaning runs generally quieter. While this mode is active, the robot won’t vacuum, and the brush won’t rotate.
Why is my vacuum ringing?
The vacuum may make a loud noise if the dust container is packed, as more particles won’t fit within. Make sure your dust container is empty by checking it.
Can Roomba be voice-activated?
You may guide your cleaning robot to particular places in your home or office using voice commands and your Google Assistant to perform on-demand cleaning.
What would cause a Roomba to make a squeaking sound when it cleans?
A squeaking sound in a Roomba may be caused by debris in the wheel well, worn-out brushes, or a loose part. Cleaning and inspecting the wheels and brushes can often resolve the issue.
Will a squeaking Roomba still clean effectively?
While a squeaking Roomba may still clean effectively, addressing the cause of the noise is recommended. Squeaking can indicate wear or potential issues, and resolving it can help maintain the vacuum’s performance and longevity.
External Resources
- Vacuum Cleaner Noise Annoyance: An Investigation Of Psychoacoustic Parameters, Effect Of Test Methodology, And Interaction Effect Between Loudness And Sharpness – MDPI
- Design And Development Of Automatic Cleaning And Mopping Robot – Institute of Physics
- Comparing The Recommendations Of Buyers Of Energy-Efficient And Inefficient Vacuum Cleaners – MDPI
- The Best Robot Vacuum You Can Buy Right Now – The Verge

