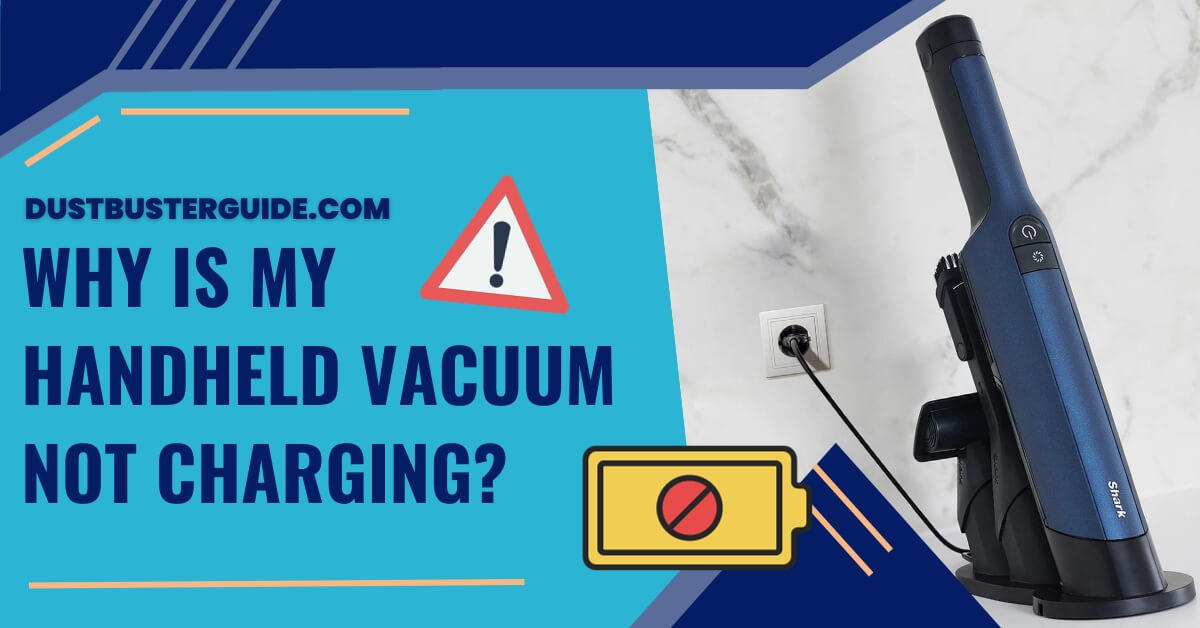
The charging challenge prompts a question of power persistence: why is my handheld vacuum not charging? It’s an exploration into the troubleshooting journey when your handheld companion refuses to power up.
Picture this: reaching for your handheld vacuum and discovering it won’t charge, and the question arises. In just a couple of lines, the answer charges in like a power-related revelation: Check the charging cable, power outlet, and the vacuum’s battery connections for any issues.
If problems persist, it could indicate a faulty battery or charging port, requiring further inspection or replacement parts. But before you assume it’s a lost cause, join us on this exploration. We’ll guide you through potential solutions to revive your handheld vacuum’s charging vitality.
Why Is My Handheld Vacuum Not Charging – 5 Reasons
There are several potential reasons why your handheld vacuum cleaner may not be charging. It’s important to consider these common issues to identify why your vacuum is not charging. Let’s delve into the possible causes.
- Power supply issue
- Battery issue
- Charging base issue
- Internal component failure issue
- Indicator light issue
1. Inspect Your Power Supply
Imagine you’re ready to tackle that mess in your car, you plug in your handheld vacuum to charge, but nothing happens – it’s time to inspect your power supply. The power supply is the primary source that fuels your vacuum’s charging process, and any issues here could potentially prevent your device from charging.
Start by checking the wall socket or the power strip where your charger is plugged in. It could be as simple as a blown fuse or a tripped circuit breaker. You’d be surprised how often this happens. Also, try plugging your charger into a different socket, just to verify if the issue is with the socket or the charger.
Even after changing sockets, if your vacuum still isn’t charging, examine the charger itself. Sometimes, the problem lies in the charger rather than the vacuum. Inspect the power cord for any visible signs of damage such as frays, bends, or cuts.
Damaged cords can disrupt the flow of electricity, preventing your vacuum from charging. If damage is found, you’ll need to replace your charger.
Check the adapter as well, ensure it’s securely connected and not loose. If you’ve got a spare charger, try using it to determine if the charger is the issue. Remember, your handheld vacuum’s ability to charge largely depends on the health of your power supply.
2. Battery Issues
When it comes to troubleshooting your handheld vacuum’s charging issues, one crucial aspect to consider is the battery. The age of the battery can greatly affect its performance – over time, batteries lose their ability to hold a charge.
Additionally, any physical damage to the battery could also be the culprit, preventing your vacuum from charging effectively.
Age of the Battery
Your handheld vacuum might not be charging because the battery has simply aged beyond its useful life. Just like any other device, the battery of your handheld vacuum has a limited lifespan. After a certain period of use, the battery’s capacity to hold a charge diminishes, and it may eventually stop charging completely.
This is especially true if your vacuum is several years old and has been used frequently. If you’ve noticed that your vacuum’s battery life has been decreasing over time, this could be a sign of an aging battery. In such cases, replacing the battery can solve the problem. You might consider contacting your vacuum’s manufacturer for information about purchasing a replacement battery, or take your vacuum to a professional for a battery replacement.
Always remember to properly dispose of your old batteries at a recycling facility.

Damaged Battery
Let’s now consider another potential culprit for your power woes: a damaged battery. Sometimes, despite your best efforts, a battery can become damaged. This could be due to overcharging, exposure to extreme temperatures, or physical damage.
For instance, if the battery gets too hot, it can warp and lose its ability to hold a charge. Similarly, if the battery is dropped or hit, it can cause internal damage that affects its performance. A damaged battery can’t efficiently store and supply energy, which may explain why your handheld vacuum isn’t charging.
If you suspect a damaged battery, you should inspect it for any obvious signs of damage. Look for any bulges, leaks, or discoloration on the battery. Battery leakage can be especially problematic, as it can corrode and damage the internal components of your vacuum, further compounding your charging problems. If you notice any of these signs, it’s best to replace the battery.
Remember, always handle damaged batteries with care to prevent injury or further damage to your device.
3. Vacuum’s Charging Base Issues
It’s quite frustrating, isn’t it, when your trusty handheld vacuum refuses to charge due to issues with the charging base? The charging base is a critical component of your vacuum cleaner as it’s the primary source of power.
There could be several reasons why your vacuum’s charging base isn’t functioning properly. One of the most common causes is a faulty electrical outlet. If the outlet isn’t providing enough power, the charging base won’t be able to charge your vacuum.
Additionally, the charging base itself could be damaged or worn out over time, which can prevent your vacuum from charging. In such cases, the first thing you should do is inspect the charging base for any visible signs of damage. Look for any loose wires or components, burn marks, or other signs of wear and tear.
Also, try plugging it into a different electrical outlet to see if it makes a difference. If you find any issues, it might be time to replace the charging base or get it repaired. If you’re not sure about the problem, it’s always best to seek professional help to avoid further damage.
4. Internal Component Failure
Sometimes, despite your best efforts in cleaning and storing, your device may still encounter issues due to internal component failure. This could be a result of wear and tear over time or due to a manufacturing defect.
Internal component failure can be challenging to diagnose, as it involves complex parts of the vacuum like the motor, the battery, or the circuit board. If your handheld vacuum is not charging, a faulty battery or a problem with the charging circuit could be to blame.
Unfortunately, fixing internal components isn’t always a straightforward task. It might be too difficult or risky to attempt on your own, especially if you’re not familiar with electronics. In such cases, it’s best to reach out to a professional or contact the manufacturer’s customer service for assistance.
If your device is under warranty, you should be able to get it repaired or replaced with minimal fuss. Whatever you do, don’t ignore the problem, as it could become more severe over time and render your handheld vacuum unusable.
5. Faulty Indicator Light

Don’t overlook a faulty indicator light on your device, as it’s a common issue that can easily throw a wrench in your cleaning routine.
This light is designed to let you know when your vacuum is charging correctly, or when it’s fully charged and ready for use. However, if the light isn’t working as it should, it can give you a false sense of security about your device’s charging status.
You might think your vacuum is charging when, in fact, it isn’t. Or you might assume it’s fully charged only to find the battery drains quickly the next time you use it.
It’s also possible that a faulty indicator light is a symptom of a bigger problem. For instance, if the light continually blinks or doesn’t come on at all, it could indicate a problem with the charging circuit.
If the light turns on but doesn’t turn off, it could mean the battery isn’t holding a charge. This could be due to a faulty battery, a defective charger, or an issue with the vacuum’s charging port.
In such cases, it’s best to consult the user manual or contact the manufacturer’s customer service for troubleshooting advice.
When To Contact Manufacturer Or Professional Repair Services
If you’ve tried everything and your handheld vacuum still isn’t working properly, it’s time to reach out to the manufacturer or professional repair services.
This step is crucial as it not only ensures your device is handled by experts but also it can prevent further damage that might occur if you continue attempting to fix the issue yourself. Remember, tampering with the device could void your warranty, so it’s best to consult with professionals before making any drastic decisions.
When contacting the manufacturer, have your model number and any relevant warranty information handy to expedite the process. Explain the steps you’ve taken to troubleshoot the issue, so they can better understand the situation.
If your warranty covers it, they may offer to repair or replace your handheld vacuum. Alternatively, if you’re out of warranty, they could provide you with a list of certified repair services. These professional services are knowledgeable about specific brands and models, ensuring your device gets the best possible care.
Remember, while the cost might seem high initially, it could save you money in the long run by maintaining the lifespan and efficiency of your vacuum.
Cleaning And Maintenance
Regular cleaning and maintenance of your vacuum cleaner can significantly prolong its life and ensure optimal performance. Dirt, dust, and debris build-up can clog the filters and obstruct air flow, causing the device to overheat and ultimately damaging the battery. Therefore, it’s crucial to clean and empty your vacuum’s dustbin regularly.
Pay special attention to the filters and make sure they’re clean. If they’re washable, rinse them under cold water and let them air dry thoroughly before putting them back.
Additionally, proper storage of your handheld vacuum can also impact its charging ability. Always store it in a dry, cool place away from direct sunlight to prevent any possible damage to the battery. Ensure that the vacuum is switched off before you put it away. If your vacuum has a removable battery, consider detaching it when not in use for a long period. This can help preserve the battery’s overall health and longevity.
Careful handling and regular servicing of your vacuum cleaner can save you from unnecessary worries about it not charging.
How Do I Know If My Handheld Vacuum Is Charging
To determine if your handheld vacuum is charging, you can typically refer to the indicator light on the device. The specific behavior of the indicator light can vary depending on the brand and model of the handheld vacuum. For example, in the case of the BISSELL Multi Cordless Handheld Vacuum, the battery light status while charging is indicated by 1-4 slow blinking green lights, which indicate that the battery is charging, and 4 solid green lights indicate that it is fully charged.
On the other hand, for the Shark Cordless Pet Perfect, the red indicator light will fade in and out while the vacuum is charging, and when it is fully charged, the indicator light will turn green for 5 seconds, then shut off,
It’s important to consult the user manual or the manufacturer’s support resources for your specific handheld vacuum model to understand the charging indicator light behavior accurately.
Conclusion
So now you found the answer to your most asked query: why is my handheld vacuum not charging? It could be due to several reasons like power supply issues, battery problems, a faulty charging base, or even internal component failure. Regular cleaning and maintenance can prevent some of these issues.
However, if you’ve tried everything and your vacuum still doesn’t charge, it may be time to contact the manufacturer or seek professional repair services. You’ve got this!
FAQs
Can I use my handheld vacuum while it is charging?
Generally, it’s not recommended to use your handheld vacuum while it’s charging. Doing so can potentially damage the battery or shorten its lifespan. Always refer to your device’s manual for specific instructions and safety guidelines.
Is it safe to leave my handheld vacuum on the charger indefinitely?
While it’s generally safe to leave your handheld vacuum on the charger, it’s not advisable to do so indefinitely. Overcharging can shorten the lifespan of the battery and lead to decreased performance over time.
What is the average lifespan of a handheld vacuum battery?
The average lifespan of a handheld vacuum battery is typically between 2 to 5 years. However, this can vary based on usage and maintenance. Regularly cleaning and charging correctly can help extend the battery life.
Do all handheld vacuums come with a warranty?
Not all handheld vacuums come with a warranty. It varies by brand and model. Always check the product details or ask the seller before purchasing to ensure you’re covered for potential issues.
Can I replace the battery on my handheld vacuum myself or do I need professional help?
Yes, you can replace the battery of your handheld vacuum yourself. However, make sure to follow the manufacturer’s instructions to avoid any damage. If you’re unsure, seeking professional help is always a safe bet.
How long does the battery last on a handheld vacuum?
The battery life of a handheld vacuum varies depending on the model and usage. Generally, handheld vacuums can run for 15-30 minutes on a single charge.
Why is my vacuum not getting power?
If your vacuum is not getting power, check that it is plugged into a working power outlet and that fuses and breakers don’t need resetting. If the power cord is damaged, replace it. If the suction motor won’t run when activated, replace the suction motor